Angular and Nestjs project using Nx
Steps to setup
- Initialize a new Nx workspace using the command
npx create-nx-workspace@latest. This sets up the foundation for your project.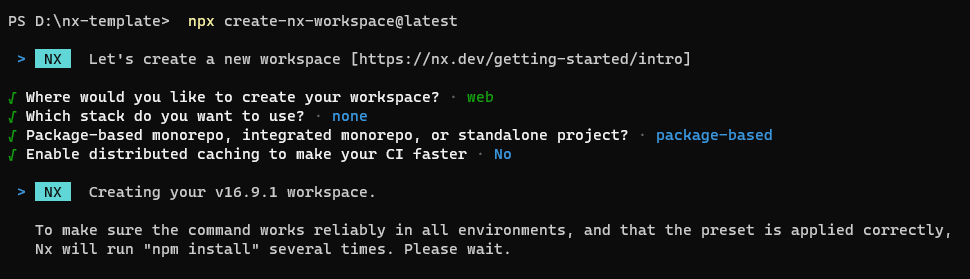
-
Run
npm i --forceto ensure that dependencies are installed correctly. -
Add Nx Angular capabilities to your workspace with
npm install -D @nx/angular. -
Generate an Angular application named “web” using
npx nx g @nx/angular:app web --unitTestRunner none --e2eTestRunner none. This creates the frontend component of your project.
-
Integrate Nx Nest capabilities with
npm install -D @nx/nest. -
Create a NestJS application named “api” that will serve as the backend of your project. Link it to the “web” frontend using
npx nx g @nx/nest:app api --frontendProject web --unitTestRunner none --e2eTestRunner none. -
Install Angular Material with
npm i @angular/materialto enhance your frontend’s UI capabilities. -
Integrate Angular Material into your “web” project using
npx nx g @angular/material:ng-add --project=web.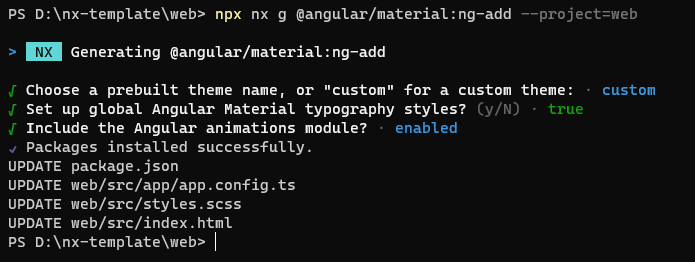
-
Set up Tailwind CSS with
npx nx g @nx/angular:setup-tailwind web. Note: Move@tailwind base,@tailwind components, and@tailwind utilitiesto the bottom in yourstyle.scssfile for proper styling. -
Launch your frontend development server with
npx nx serve web. -
Launch your backend development server with
npx nx serve api.
This series of steps establishes a powerful Nx workspace for developing a full-stack Angular and NestJS application, with each step carefully configuring and connecting the necessary components and tools.